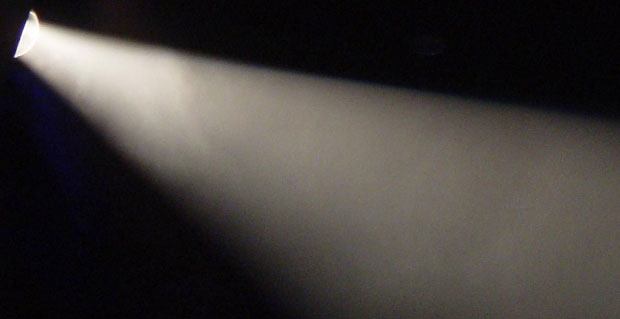
Imagine a dark stage in a theatre. You’re waiting for an entertainer to appear. You hear someone walk on to the stage but you can’t see anything. Suddenly, a spotlight comes on. It projects a cone of light at the figure on stage. Such a cone is similar to the effect you can achieve with LED downlights.
Downlighter bulbs such as MR16 and MR11 LED light bulbs distribute light at certain angles. Spaced apart, the bulbs create pools of illumination among darkness. Close together, they fill an area with brightness.
Beam cones are representations of these lights on a graph. They help engineers work out where to place LED downlights to produce lighting effects.
In effect, a beam cone graph is a two-dimensional image of a room with a light in the middle along the ceiling. Two lines spread out from this light and down to the floor. The lines form a cone. The angle between these lines is the bulb’s beam angle.
On the left of the graph are a series of measurements. These show the distance between the ceiling and the floor at various points. Along the floor, and at intervals up towards the light, are measurements of the cone’s diameter. Down the right of the graph is a series of “lux” figures. These measure the LED light bulbs’ intensity at different distances from the ceiling.
The further the light spreads from the ceiling, the wider the cone. At the same time, the intensity of the light reduces. Generally, engineers apply a 50% rule to this intensity. In other words, by the time the light from the LED light bulbs hits the floor, it’s fallen to half its maximum brightness.
If you intend to install LED downlights, consult a lighting engineer about beam cones. The engineer checks the distribution and intensity of the light. In this way, you ensure you buy bulbs with the angles and positions you need to create your desired lighting effect.
Date: November 15, 2011
Tags: technology
Learn about beam cones and how they help engineers determine the placement and angle of LED downlights to achieve desired lighting effects. Consult a lighting engineer for expert advice.