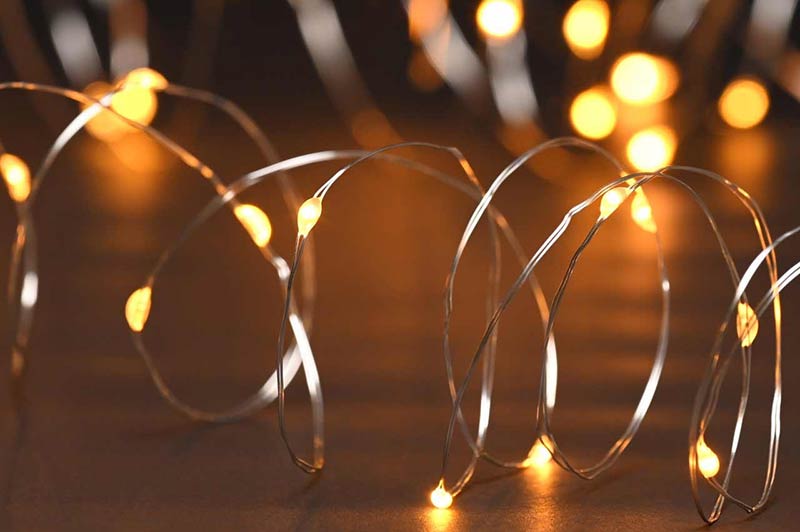
Fairy lights, also known as twinkle lights or string lights, are a popular and versatile decorative item for any home. These delicate and whimsical lights can add a touch of magic to any room, creating a cosy and inviting atmosphere. But why settle for plain fairy lights when you can create your own unique and personalised DIY projects? In this article, we’ll explore some creative and easy DIY fairy light projects for your home.
Why Use Fairy Lights in Your Home Decor?
Fairy lights are not just for the holiday season. They can be used year-round to add a warm and enchanting ambiance to any room. Here are some reasons why you should incorporate fairy lights into your home decor:
Versatility
Fairy lights come in various shapes, sizes, and colours, making them a versatile decorative item. You can choose from traditional white lights to colourful LED lights, depending on your preference and the mood you want to create.
Cost-Effective
Fairy lights are an affordable way to add a touch of magic to your home. You can find them at most home decor stores, and they are often sold in bulk, making them a cost-effective option for DIY projects.
Easy to Use
Fairy lights are easy to use and require minimal setup. You can simply plug them in and drape them over furniture, hang them on walls, or place them in jars or lanterns.
Energy-Efficient
LED fairy lights are energy-efficient, making them a more environmentally friendly option compared to traditional incandescent lights. They also last longer, saving you money in the long run.
DIY Fairy Light Projects for Your Home
Now that you know why fairy lights are a must-have in your home decor, let’s explore some creative and easy DIY projects you can try.
Fairy Light Lanterns
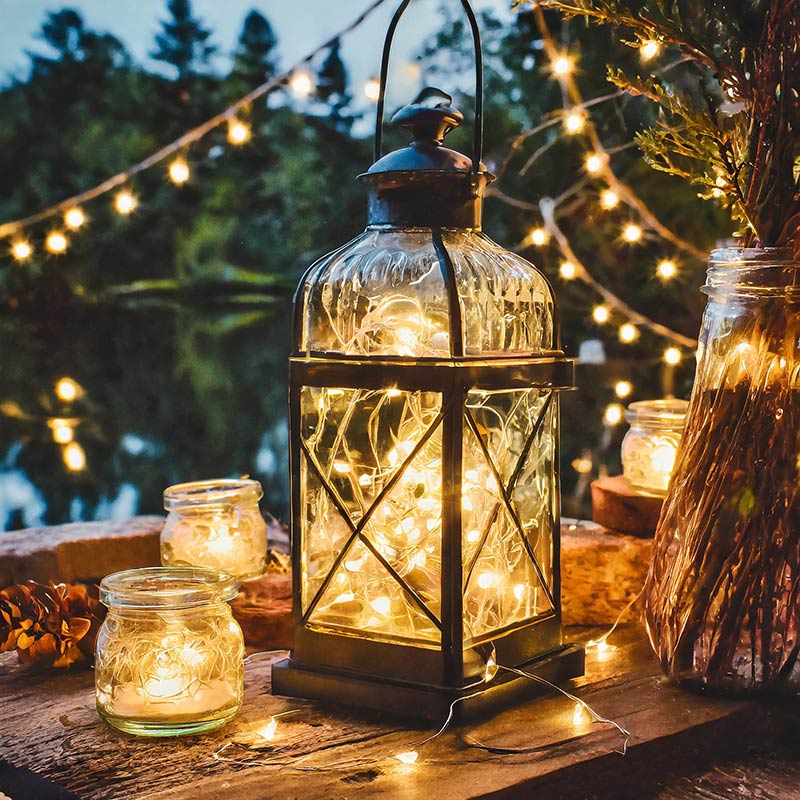
Lantern fairy lights are a popular choice for outdoor spaces, but you can also create your own indoor lanterns using fairy lights. All you need is a glass jar, some fairy lights, and a few other materials to create a beautiful and unique lantern.
Materials:
- Glass jar
- Fairy lights
- Scissors
- Glue
- Paint (optional)
- Decorative items (optional)
Instructions:
- Clean and dry the glass jar.
- If you want to add colour to your lantern, you can paint the jar with acrylic paint. Let it dry completely.
- Once the paint is dry, you can start adding the fairy lights. Begin by placing the battery pack at the bottom of the jar.
- Carefully wrap the fairy lights around the jar, making sure to cover the entire surface.
- If you want to add some extra flair, you can glue on some decorative items, such as fake flowers or ribbons.
- Turn on the lights and enjoy your beautiful fairy light lantern.
Twinkle Light Headboard
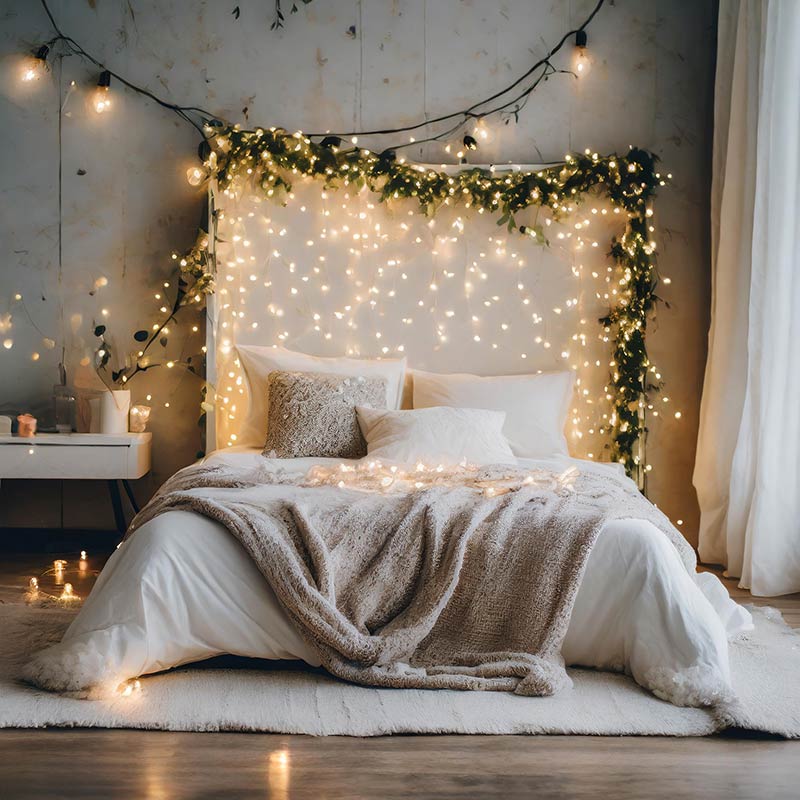
Create a dreamy and romantic atmosphere in your bedroom with a twinkle light headboard. This project is perfect for those who want to add a touch of magic to their bedroom without making any permanent changes.
Materials:
- Curtain rod
- Curtain rod brackets
- Star Fairy lights
- Command hooks
- Sheer curtains (optional)
Instructions:
- Install the curtain rod brackets on the wall above your bed.
- Place the curtain rod on the brackets.
- Drape the fairy lights over the curtain rod, making sure to cover the entire length.
- Secure the lights in place using command hooks.
- If you want to add some extra flair, you can hang sheer curtains over the lights to create a soft and dreamy effect.
Decorative Lit Branches
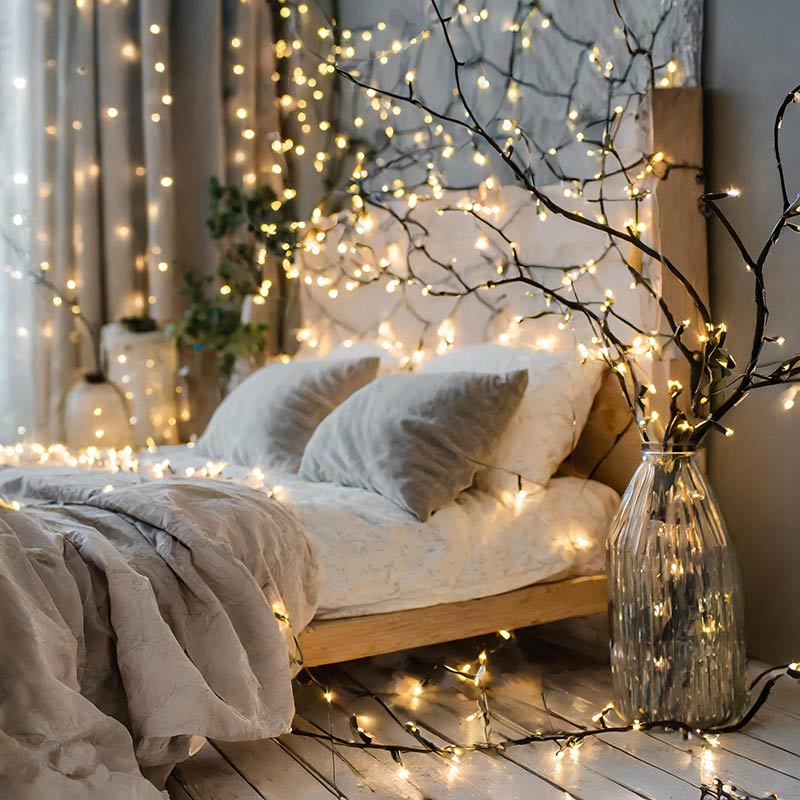
Add a touch of nature to your home decor with these beautiful light up branches. This project is perfect for those who want to add a rustic and natural element to their home.
Materials:
- Branches
- Fairy string lights
- Vase or pot
- Decorative items (optional)
Instructions:
- Collect some branches from your backyard or a nearby park.
- Clean and dry the branches.
- Place the branches in a vase or pot.
- Wrap the fairy lights around the branches, making sure to cover the entire surface.
- If you want to add some extra flair, you can glue on some decorative items, such as fake flowers or ribbons.
Fairy Light Photo Display
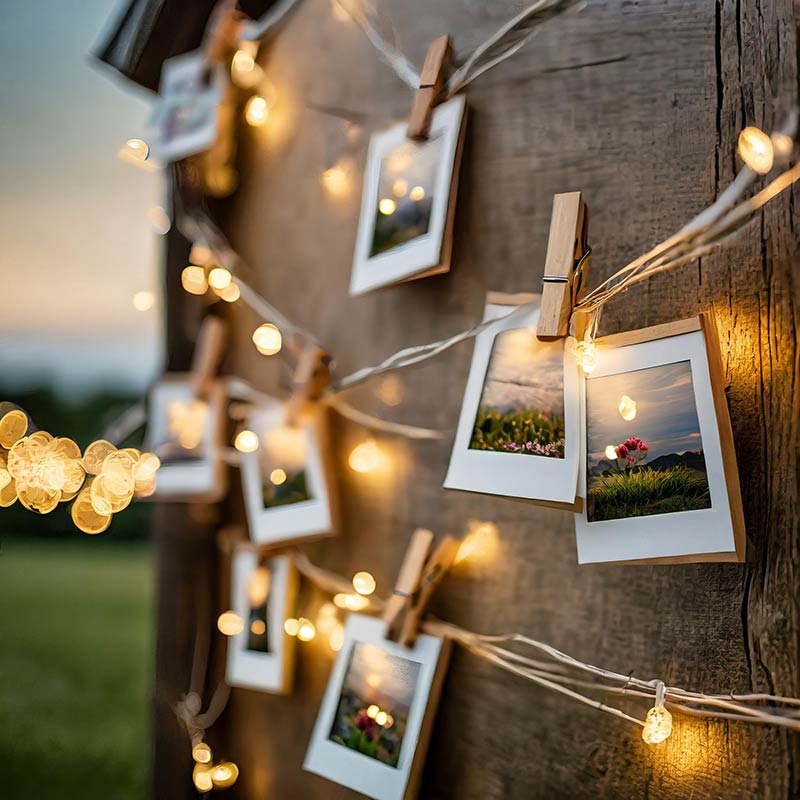
Create a personalised and unique photo display using fairy lights. This project is perfect for showcasing your favorite memories and adding a personal touch to your home decor.
Materials:
- Fairy lights
- Clothespins
- Photos
- Hooks
Instructions:
- Choose the photos you want to display and print them out.
- Attach the fairy lights to the wall using command hooks.
- Use clothespins to clip the photos onto the fairy lights.
- You can also add some extra flair by hanging small decorative items, such as paper flowers or polaroid frames, from the fairy lights.
Tips for Using Fairy Lights in Your Home Decor
- Use different types of fairy lights, such as lantern lights or curtain lights, to add variety to your home decor.
- Experiment with different colours to create different moods and atmospheres.
- Use fairy lights to highlight specific areas or objects in a room, such as a bookshelf or a piece of artwork.
- Don’t be afraid to mix and match fairy lights with other decorative items, such as candles or plants.
- Use battery-operated fairy lights for areas without easy access to a power outlet.
Fairy lights are a versatile and affordable way to add a touch of magic to your home decor. With these DIY projects, you can create unique and personalised fairy light decorations that will add warmth and charm to any room. So why settle for plain fairy lights when you can unleash your creativity and make your own beautiful and enchanting home decor?
Related posts:
 Can Fire Rated Downlights Be Covered with Insulation?When it comes to energy efficiency in homes and buildings, insulation is a key component. It helps to keep buildings warm in...
 Colour Your Home With Our New Remote Control Colour Changing LED light bulbsWant to make the most out of every room in your home? Ever feel like a room just looks to dull? Well...
 Lights, camera, action! Using LED light bulbs to light a cinema roomFilms are as popular today as they’ve ever been, but the ways we watch them have changed. Up until the eighties, going...
 Add Value To Your Home By Using LED Lighting!LED lighting is known to save you money on your electricity. Not only that, but they will also save you money in...